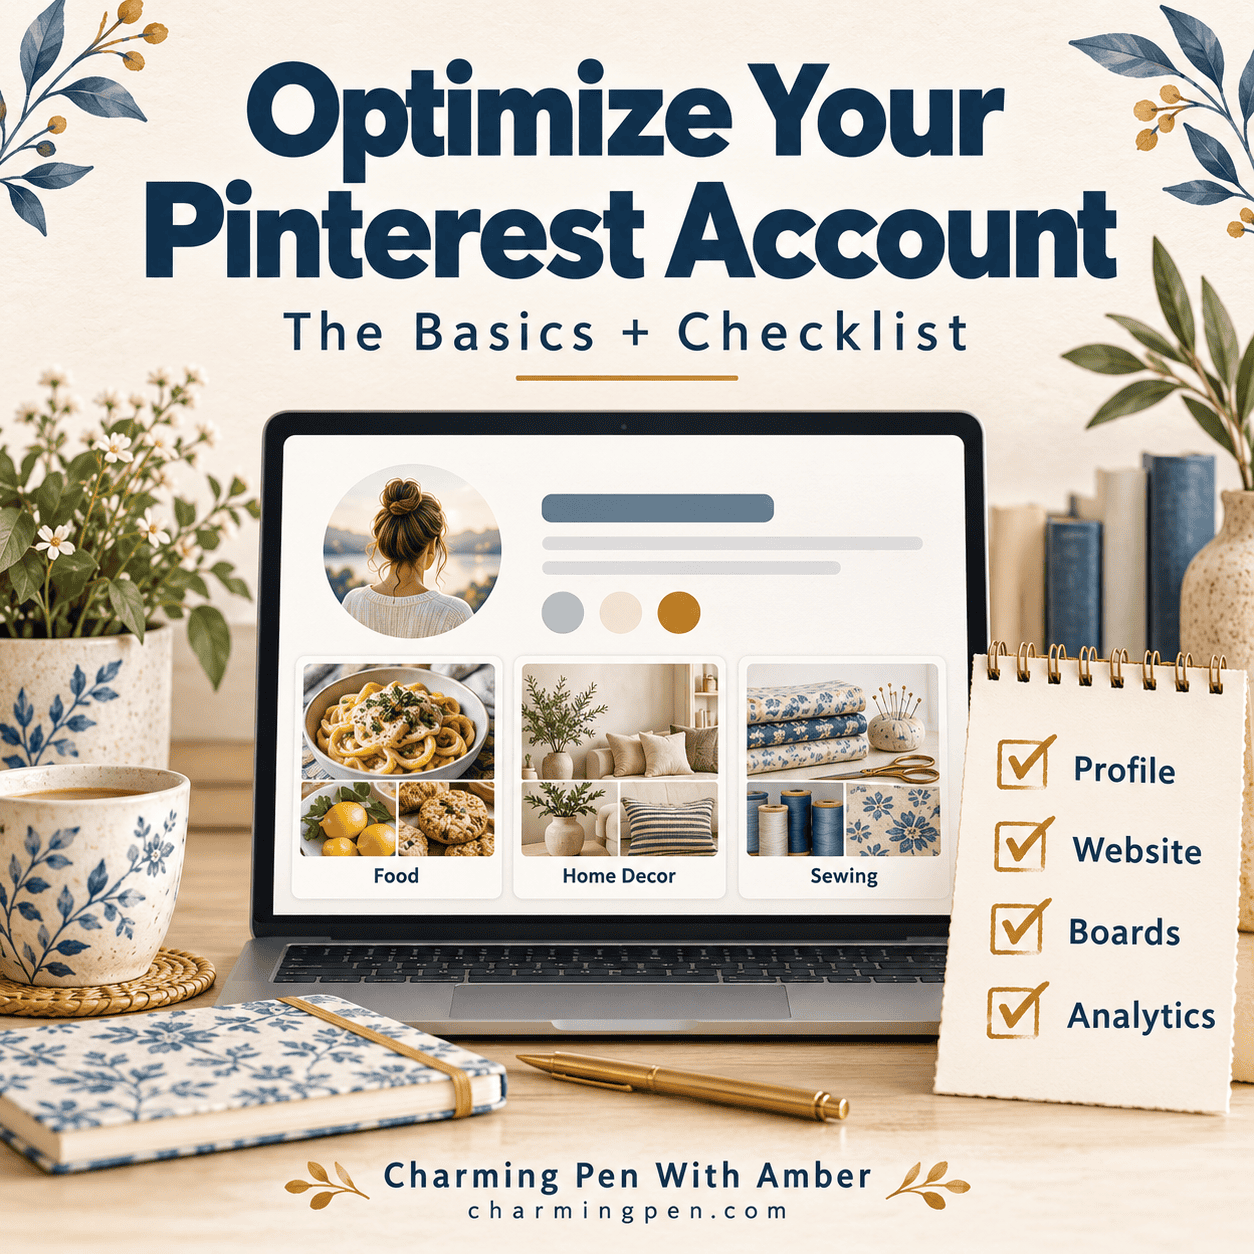
Your Pinterest account should make it easy to understand who you are, what you share and where someone can go next. Before creating another batch of Pins, it helps to check whether those basics are working.
Pinterest profile optimization means making your profile clear, complete and connected to your business. A useful account review also includes your website connection, board organization, Pin destinations and the way you measure results.
As a Pinterest strategist, I start with those foundations. A polished cover image is useful, but so is discovering that the website link goes to an old domain or that several boards have names visitors cannot understand.
This guide walks through the basics for bloggers, service providers, creators and shops. Use the accompanying Pinterest Account Basics Checklist to track your progress, either on screen in a compatible PDF reader or as a printed worksheet.
What should you optimize first?
Work through the account in this order: access, website connection, profile, boards, Pins and measurement. Each step makes the next one easier to assess.
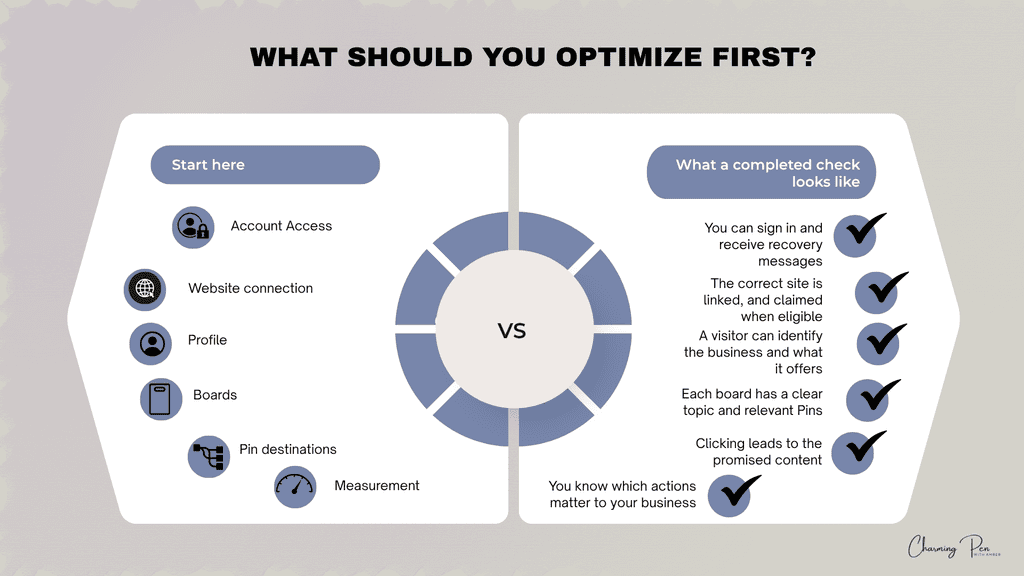
You do not need to complete every cosmetic detail before publishing. Fix access problems and broken links first, then improve the rest in manageable passes.
1. Confirm that you have the right account
If you use Pinterest for your business, check that you are working in your business account. Pinterest’s business account guide explains how to create one or convert an existing account. Business accounts provide access to tools such as Pinterest Analytics.
An existing account can be reviewed and improved. Starting again is a separate business decision, rather than a routine optimization task.
Check the email connected to the account and make sure you can receive messages there. If you normally sign in through another service, understand how you will recover access if that sign-in method changes.
Use Pinterest’s account protection guidance and review two-factor authentication. If someone manages the account for you, agree who owns it, who maintains access and how that access will be removed when the work ends.
These are practical foundations for maintaining the account. They are not search-ranking tricks.
2. Add your website and claim it when eligible
Adding a website link and claiming a website are different tasks.
The profile link gives visitors somewhere to go. Claiming confirms your connection to an eligible website and provides attribution and insight into content saved from it. Pinterest’s website claiming instructions explain the available verification methods.
To claim a site, you need appropriate ownership and access to make the required verification change. Most marketplace shops cannot be claimed in the same way as a website you control. You can still add an appropriate destination link to your profile.
A website can be claimed by only one Pinterest account. If you are moving between accounts, check the existing claim before trying to verify it again.
After making changes, confirm the completed claim in settings. Then open your public profile and test the website link on your phone. Check that it uses the right domain and reaches a page where visitors can understand your business.
3. Make your profile name recognizable
Use your business or creator name, with a relevant descriptor when it helps explain the account.
For example, “Charming Pen With Amber | Pinterest Strategy” identifies the business and its subject. “Maple & Thread | Beginner Sewing” gives a fictional sewing business similar clarity.
Keep the wording natural. A profile name crowded with every service and keyword you found is difficult to recognize at a glance.
Your username is different from your display name: it forms part of your profile’s web address. If you change it, review links to the profile from your website and other channels.
Pinterest’s profile editing guide explains which fields you can change. Interface labels can vary between the app and desktop, so follow the current instructions for your device.
4. Write a bio that answers a visitor’s questions
A useful Pinterest bio explains what you share, who it helps and why someone might want to explore further.
Start with this structure:
What you offer + who it helps + the useful outcome.

A fictional home account might say: “Small-space decorating ideas for renters and first-time homeowners. Find practical room layouts, affordable updates and approachable DIY projects.”
A food blogger might emphasize the types of recipes they actually publish. A service provider might explain the problem they help solve. A shop might describe its products and who they suit.
Use a few relevant phrases in readable sentences. Pinterest currently allows up to 500 characters in the bio, according to its profile editing documentation. You do not need to use all of them.
Keep claims accurate. Describe a qualification only if you hold it, and make sure the services or products mentioned are available on the linked website.
5. Choose profile visuals that remain clear on a phone
A recognizable headshot or readable logo can both work. Choose the one that represents how people know the business.
Check the image at the small size visitors will see. Fine lettering and complex artwork can disappear in the circular crop.
If your account offers a profile cover, use it to support the message. A simple image or short line of text can work better than a miniature advertisement packed with details.
Pinterest’s Content Academy lesson on profile optimization emphasizes a complete profile and clear brand messaging.
Your account can feel recognizable while your individual Pins use varied imagery and designs. Different articles may need different visual treatments to make their subject clear. For more on balancing recognition with variety, see my Pinterest Pin Design Tips: Avoiding the Over-Branded Trap.
6. Build boards around topics people understand
Boards organize what you share. Choose names that describe the content someone will find there.
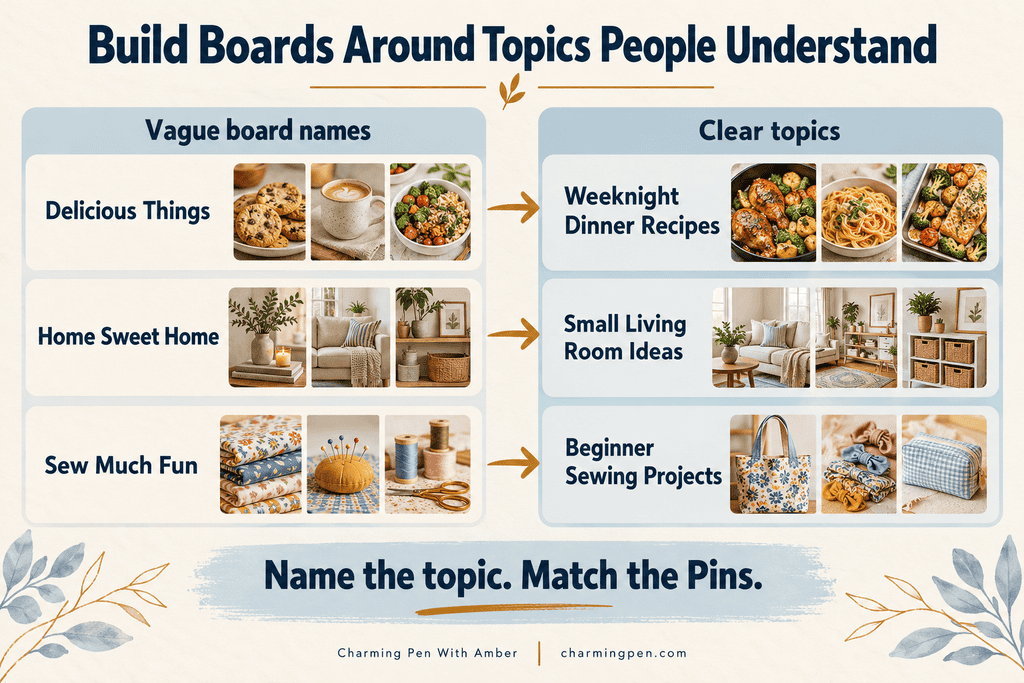
The clearer names still need to fit the actual Pins. “Weeknight Dinner Recipes” should contain dinner recipes, rather than every food article you publish.
Your blog categories can help you inventory content, but they are not automatically your best Pinterest board names. A broad category such as “Graphic Design” might support boards about Canva tutorials, Pinterest Pin design or visual branding, depending on what you actually publish.
Start with the topics you have enough useful content to support. There is no universal board count to complete before an account is ready. Creating twenty nearly empty boards simply adds more maintenance. When you’re ready to review how your boards work together, my Pinterest board strategy guide explores board focus, placement and older boards.
7. Give each board a human-readable description
A board description should explain its topic and the kinds of ideas saved there.
For a beginner sewing board, that could be: “Beginner sewing projects and step-by-step tutorials for learning basic stitches, choosing fabric and making useful items for your home.”
Relevant words belong in the description because they explain the board. Avoid turning it into a list of loosely related search phrases.
Review the Pins alongside the description. If the title says one thing and the board contains something else, decide whether the title, description or contents need attention.
Choose a useful home for each new Pin based on its actual topic. A larger board is not automatically the better fit.
8. Review old boards carefully
An older account may contain personal projects, outdated business topics or overlapping boards. Review what is there before changing it.
Keep useful boards, rename unclear ones when appropriate, and decide what to do with topics you no longer maintain. Pinterest’s archive and delete guidance explains the different actions.
Avoid a mass deletion simply because a board looks old. Age alone does not tell you whether its content is useful. Check its relevance and available performance information first.
Board covers are optional presentation work. Clear names, descriptions and relevant content deserve attention before decorative covers.
9. Check a sample of Pins and destination pages
Choose a few recent Pins and a few that have brought meaningful visits. Open their links and compare the Pin promise with the page.
Does the tutorial include the promised steps? Is the product still available? Does the recipe match the image and title? Can someone read and use the page on a phone?
A broad business article does not fulfil a promise of a downloadable business checklist unless that checklist is actually provided. A shop Pin should take someone to a relevant product or collection rather than leave them to search the homepage.
Make new Pin titles specific, descriptions readable and images easy to understand. Write alt text to describe the image for accessibility; use the title and description for the content’s main message.
10. Set a publishing routine you can maintain
Once the account is clear and connected, choose a manageable publishing routine. Start with content that already fulfils its promise. If you’re deciding on a schedule, read How Often Should You Post on Pinterest? before choosing a posting target.
A beginner does not need a complicated tool stack to get started. Pinterest’s own publishing tools can be enough; a connected scheduler may help as your workflow grows.
Record which page each Pin promotes, its angle and its intended board. This helps you produce useful variations rather than repeatedly making the same Pin with a new font.
Simple Pin Media’s discussion of preparing accounts before ongoing management intersects with this approach: setup deserves attention before increasing the workload. That is a relevant workflow observation, rather than an endorsement of a particular service.
11. Know what you will measure
Choose the result you want from Pinterest: article visits, enquiries, product interest or another action that supports your business.
Pinterest Analytics distinguishes impressions, saves, Pin clicks and outbound clicks. A Pin click is not the same as a visit to your website.
For a traffic goal, outbound clicks are especially useful. For a shop or service business, also assess what visitors do after reaching the website.
Save a starting snapshot with its date range and filters. Review comparable windows rather than expecting a profile edit to explain the next day’s performance. Pinterest reports and website analytics may differ because they measure activity differently. For help interpreting patterns beyond the totals, read what your Pinterest analytics may be telling you.
Your Pinterest account basics checklist
Use the downloadable worksheet to complete these checks:
- Confirm the business account and recovery access.
- Test the website link and verify the claim when eligible.
- Make the name, bio and profile image clear.
- Give boards specific names and readable descriptions.
- Review older boards before making changes.
- Check a sample of Pin destinations on mobile.
- Choose a sustainable publishing routine.
- Record your goal and analytics baseline.
The checklist includes space for your next three fixes. Mark a task complete once you have checked the result. If it does not apply to your business, note that beside the item.
When is the account ready?
Your account is ready for a sensible publishing plan when you can access it reliably, visitors can understand it, your links work and your boards provide appropriate homes for the content you share.
Optimization is an ongoing review, but it does not need to become endless tinkering. Make a clear change, record it and return to creating useful content.
If you want help deciding which fixes matter most, my Pinterest strategy audit can help turn the review into a practical plan for your business.